|
Before I enrolled in this digital photography class, I knew nothing about how to take professional pictures. I was used to the often grainy, blurry selfies I took on my phone with my friends. I didn't know there was such thing as an exposure triangle. I had never heard of aperture, shutter speed, or the ISO. I had never even attempted to put a camera on a tripod before. After 12 weeks of studying the basics of photography, I can say that I definitely know more than I ever had before. Beforehand, I could tell if a photo was "bad" if the mistakes were extreme: too dark to see anything, so blurry you can't tell what the image is capturing, etc. Now, because of our weekly critiques, I know that there are so many details to creating a good image, such as the placement of the subject (following the rule of thirds), the exposure itself (finding the right aperture and ISO, especially when taking photos outside), and the colors incorporated into the image. This class has not only made me a better photographer, but it has inspired me to continue to improve my newfound skills. I found out that I particularly enjoy taking photos of nature, which is something I can pick up as a hobby in the future. For comparison, here is a compilation of a few of my worst shots from each theme I chose: And here is a compilation of my best shots from the same themes: Finally, here is a compilation of my Photoshop projects, from (in my opinion), worst to best.
0 Comments
For the final Photoshop assignment, we had to take portraits of a particular subject. In order to take the photos, I had to find a natural light source and use a bounce card to reflect it on the face. This process simulates a studio setup. Then, in Photoshop, I had to use the Layers, Paint Bucket, and Free Transform tools to create a portrait palette. Here are the two portraits: 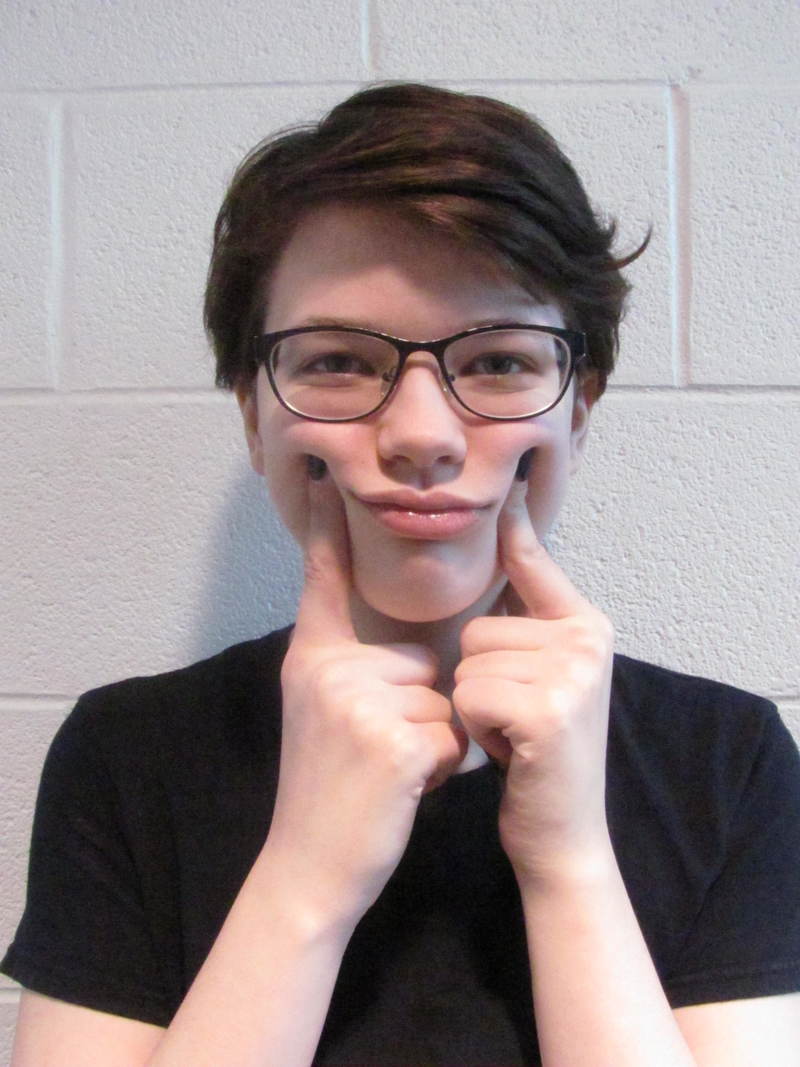 Aperture: 6.3 -- ISO: 1600 -- Shutter Speed: 1/60 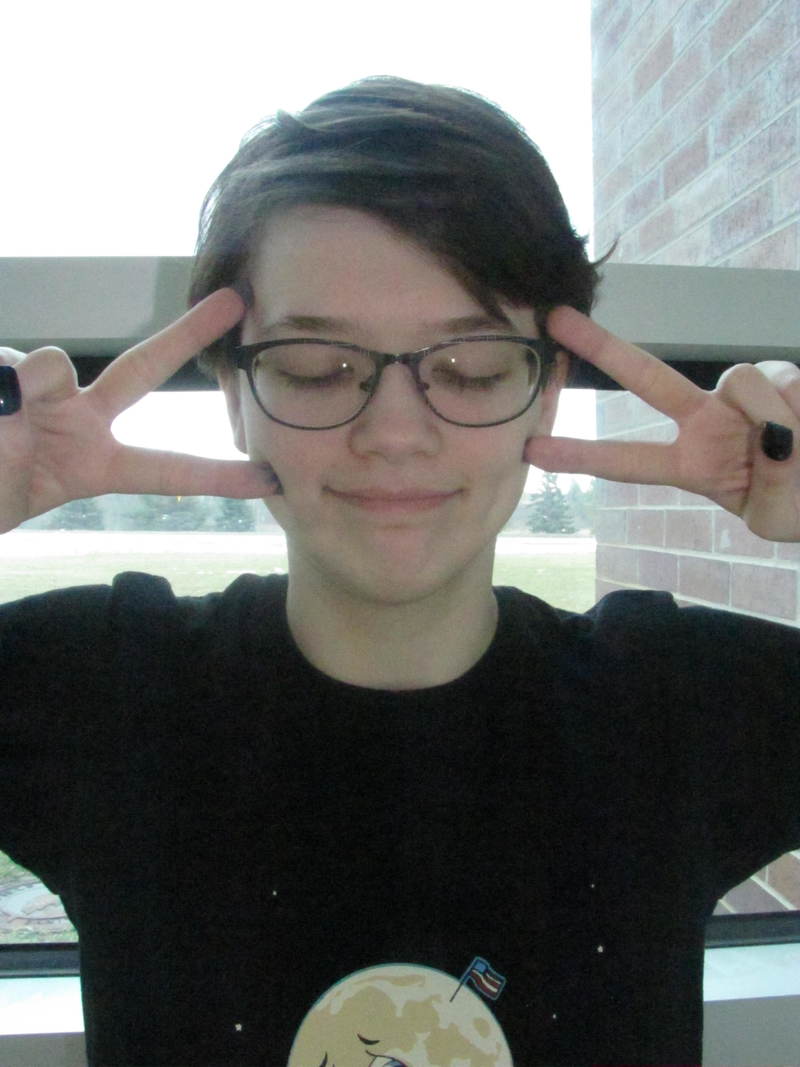 Aperture: 8.0 -- ISO: 1600 -- Shutter Speed: 1/100 Here is the final palette from Photoshop: 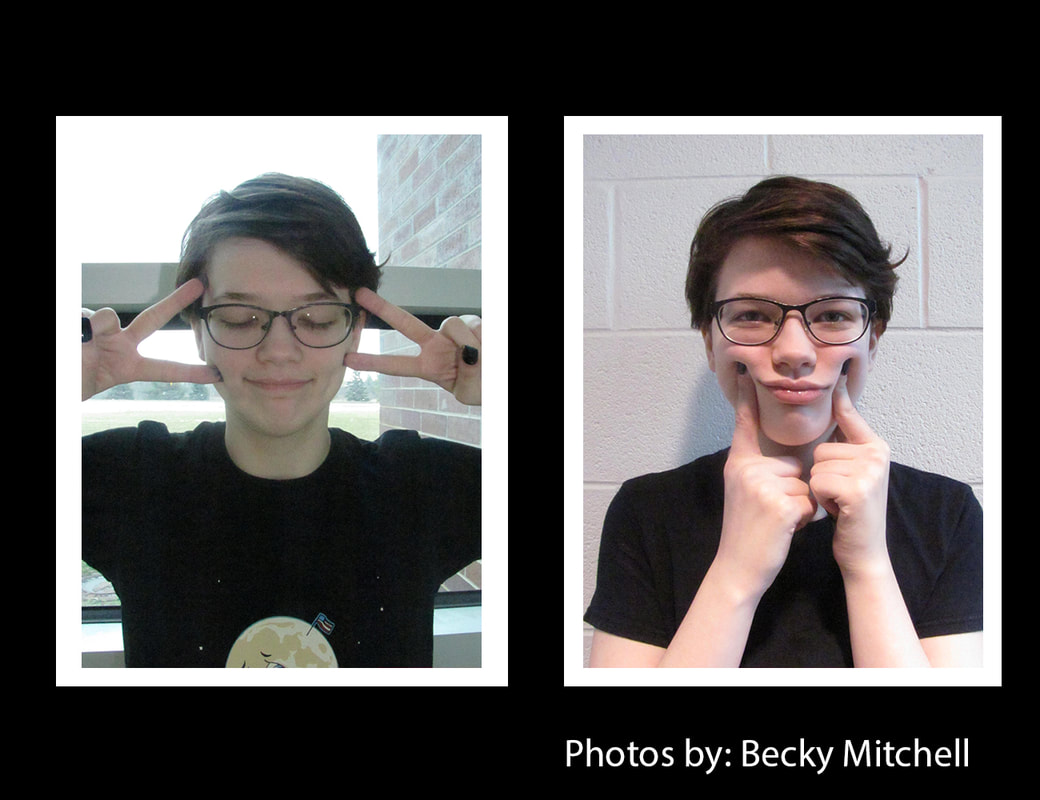 I enjoyed this assignment because I was able to take nice, professional-looking photos of my sibling, and I received a better understanding of using natural light. Unfortunately, it was a little cloudy, and my pictures are a little darker than I would prefer. But, I think I worked with what I had and the results are satisfying.
For my final photo assignment, I chose to take photos that fell under the "still life" category. In order to take quality photos of inanimate objects, I had to turn down my aperture to create a small depth of field, so the subject would be the sole focus of each photograph. Here is my best shot from last week:  Aperture: 3.2 -- ISO: 80 -- Shutter Speed: 1/15 Here are 5 more of my best shots: I really enjoyed this assignment, because I think these are some of the best photos I've ever taken. It was fun searching for the little details and then capturing them. My biggest issue was finding a plain background for my subjects, but I worked with what I had and tried to fill the frame with the subject as best as I could.
For this Photoshop assignment, I had to follow various tutorials found online to edit my images. I ended up with 5 new Photoshopped pictures, and each tutorial gave me a new tool to work with, such as: Bevel, Contrast, Pen Tool, etc. Here is a slideshow of the results, placed in a "before and after" format: Here are the links to all of the tutorials I followed:
I enjoyed this assignment because it allowed me to explore a program I don't have a ton of experience with. When I took Graphics last trimester, I used Adobe Illustrator and InDesign -- these programs are very similar to Photoshop in some ways, so I was able to use that prior knowledge to work through the more challenging tutorials. I had the most difficulty with the Vintage Photo Corners, because I had to follow elaborate instructions to create them from scratch, including the Bevel and Emboss dialog box. Overall, this was a fun assignment and I'm proud of my work. For my 6th photoshoot, I chose to take pictures in black and white. After taking a few practice photos inside, I realized that black and white photos often turn out best if taken outdoors. So, I went to the park by my house. I was able to see just how necessary color is for humans and how black and white images can often appear dark and dreary, even with the correct exposure. I made sure to change my ISO as I switched from indoor to outdoor photography to make sure my images didn't end up too dark. Here is the color image of my best shot: 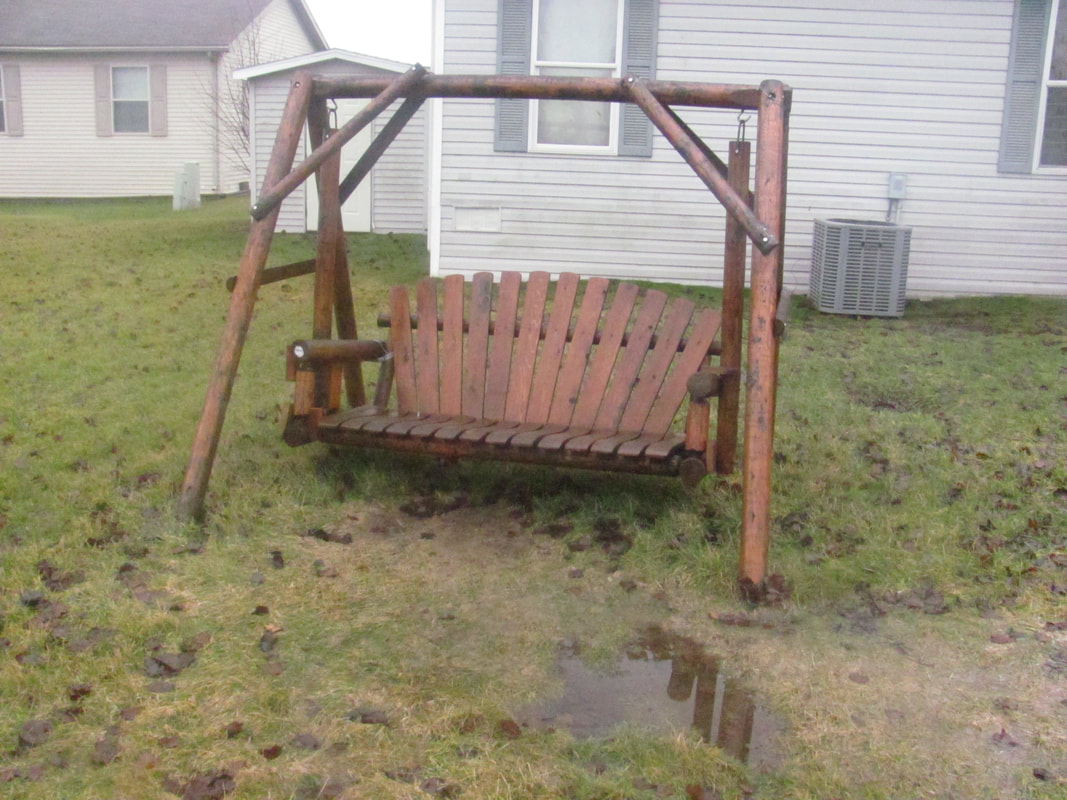 Here is the black and white version: 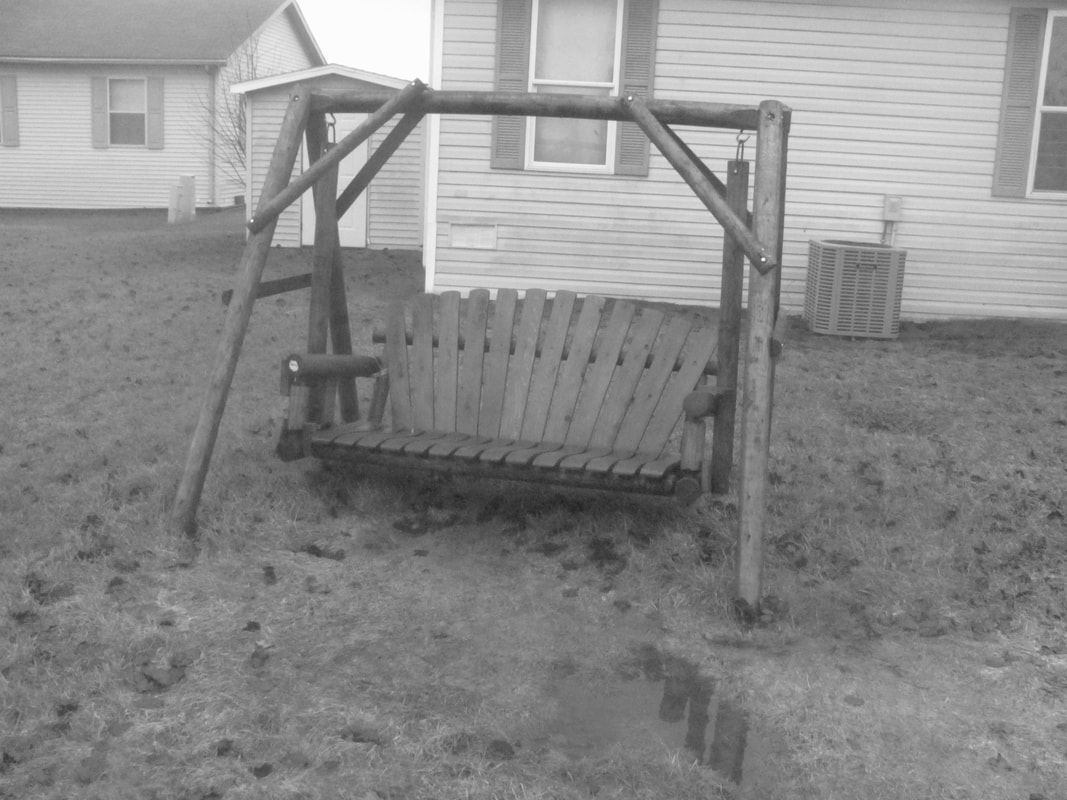 Aperture: 3.2 -- ISO: 1600 -- Shutter Speed: 1/1600 Here are 5 more of my best shots: I enjoyed this theme because it required me to look for colorful aspects of the world around me, and then purposefully take that color out of the image. My 2 biggest issues were digital noise resulting from high ISO settings and the fact that I had to keep cleaning my lens because it was drizzling. However, I think this provides a cool effect to the images, because they appear even more solemn.
For the 5th Photoshop assignment, we had to take photos of a subject in the same location in various poses. The key was to set up the correct exposure for the background in Manual mode (for consistency) and keep the camera on a tripod. We then created a Layer Stack in Photoshop and, using the Lasso and Layer Mask tools, cut each subject out to create an image that looks as if the same person is in several places at once. My sibling, Ezra, was my subject. Here are the final images: 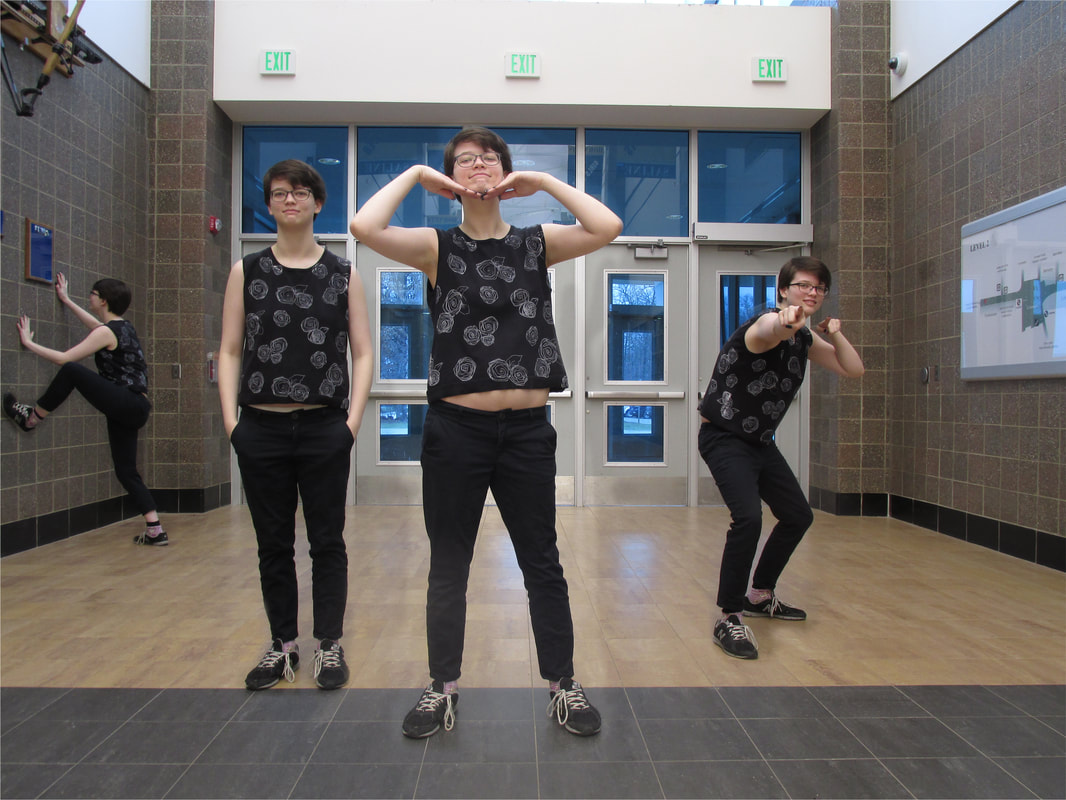 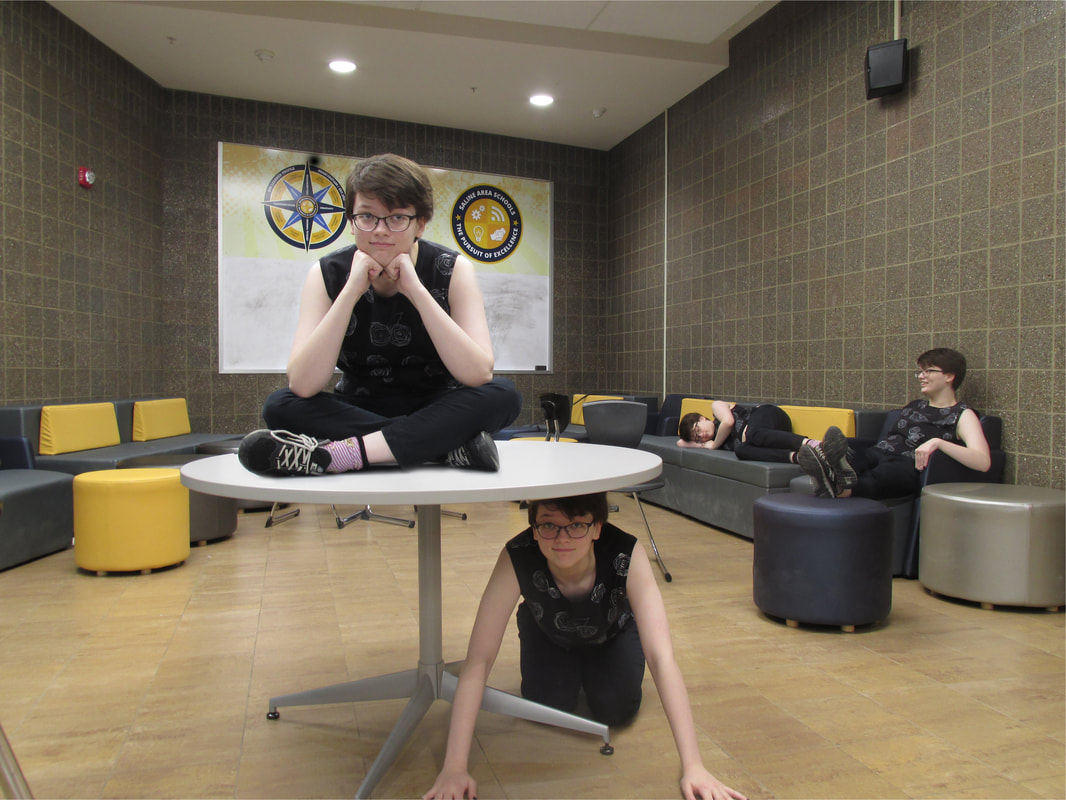 I enjoyed this project because it was fun using our imaginations to think of new poses for Ezra to do. I was also able to get the hang of the "black to conceal, white to reveal" paint function on Photoshop, which allowed me to place a couple Ezras next to each other without one Layer Mask from covering another in awkward ways. Overall, a very fun project.
For my 5th photo shoot, I took pictures of architecture. I have always enjoyed the parallel structures and designs created by architects, so I worked to incorporate that aspect into my photos. I worked with the camera in Manual mode, and made sure to change the ISO as I switched from outdoor to indoor light sources. Here is my best image: 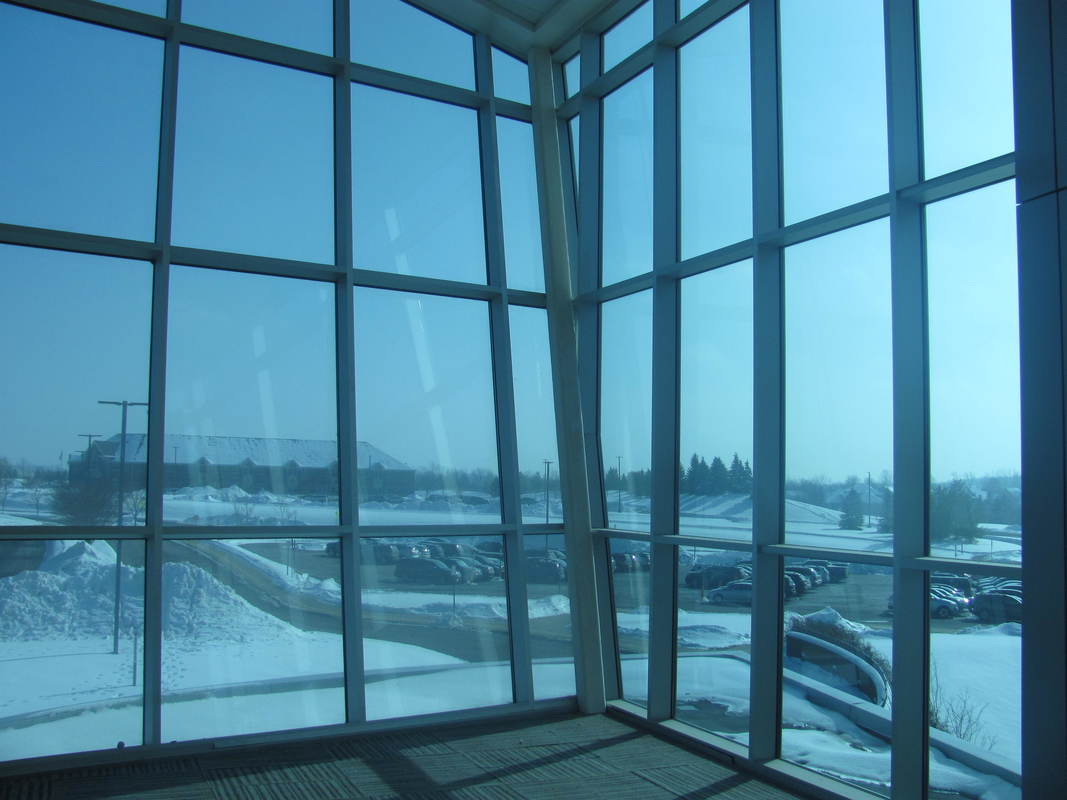 Aperture: 3.2 -- ISO: 80 -- Shutter Speed: 1/1250 Here are 5 more of my best shots: I enjoyed this assignment and it wasn't hard to find interesting aspects of the high school's structure to photograph. My biggest issue was finding time to complete the assignment, because I was quite busy last week. If I were to do this assignment again, I would probably focus more on incorporating indoor and outdoor elements, like the window photos I took.
For this assignment, we had to take a picture of an area of the school and use Photoshop to add elements that are out of context for the typical high school. To do this, tools such as Quick Selection, Layers, and Free Transform were used to make the elements look somewhat realistic. I chose to create a concert scene in the middle of a hallway on the 2nd floor of SHS. Here is the original image: 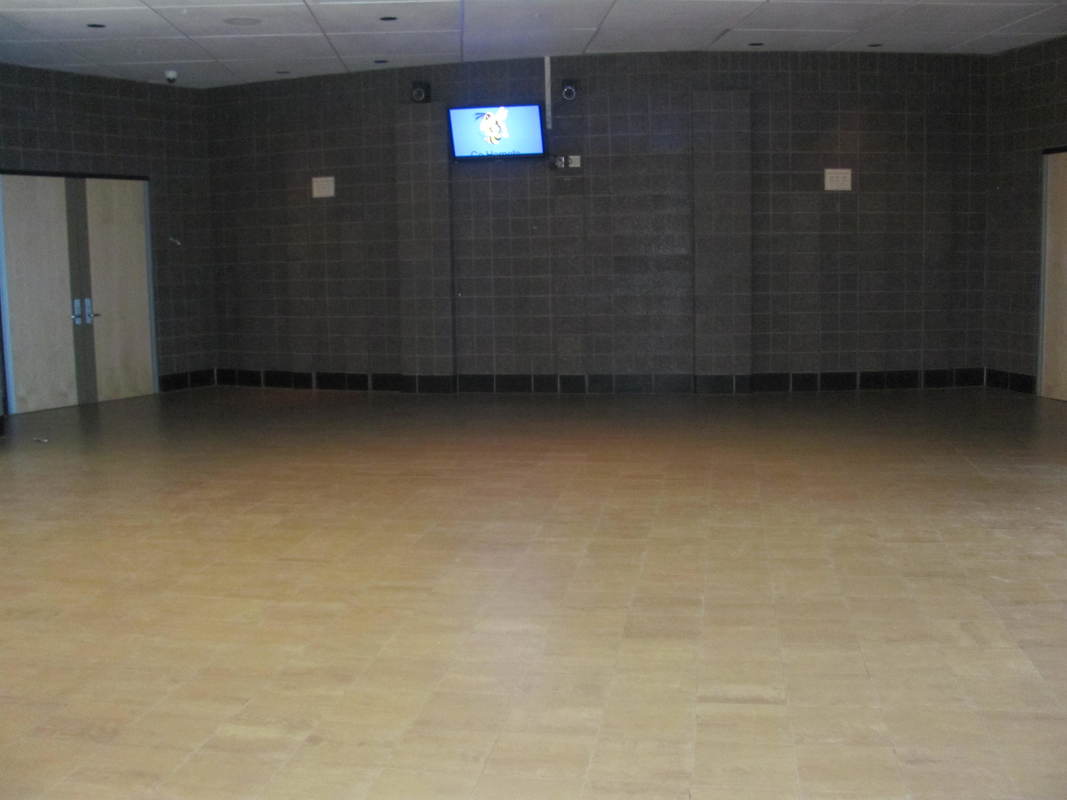 And here is the image after I used Photoshop to change it up: 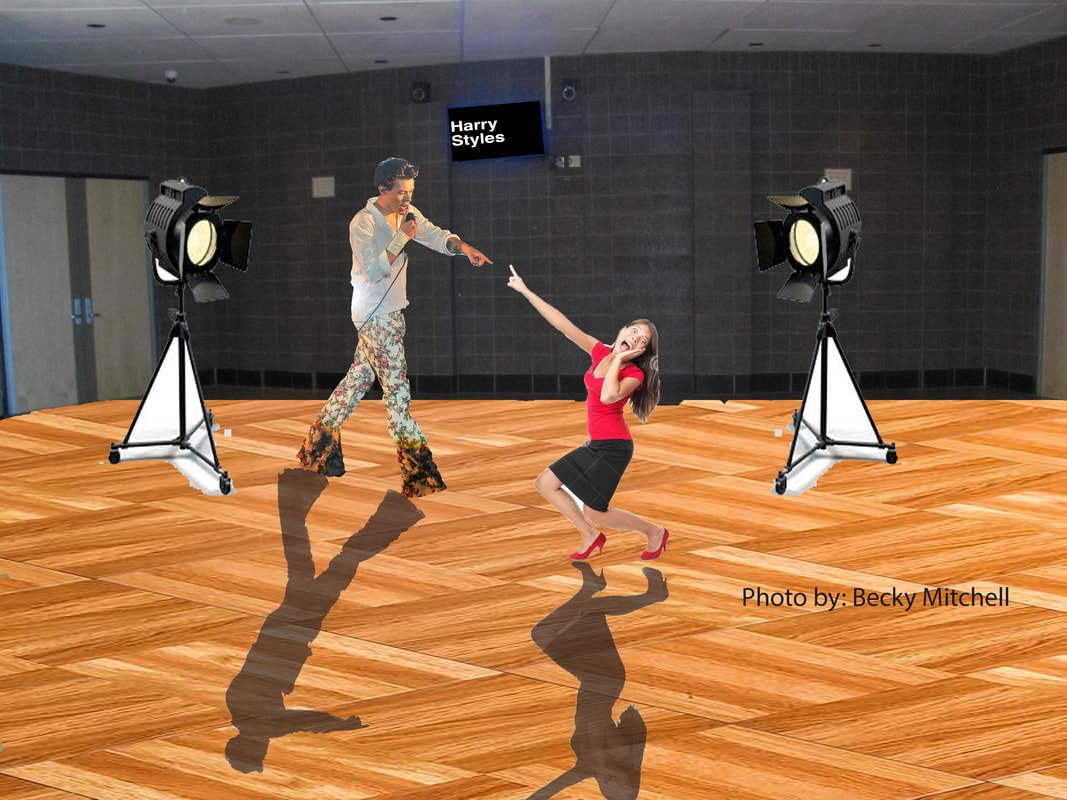 I used the Quick Selection tool to "cut" the images I wanted and then pasted them into the photograph. I used Layers and the Quick Selection tools to replace the flooring. Finally, I used the Duplicate, Desaturation, and Layer Opacity tools to create Harry's and the woman's shadows. I quite like the end result, especially because I got to put Harry in there.
For my 4th photoshoot, I took pictures of people. Originally I was going to ask my grandparents to be my subjects, but the snowstorm this weekend prevented me from traveling anywhere. So, I used Portrait Mode on my camera to capture what my family does on a typical snow day. Here is my best photo:  Aperture: 2.8 -- ISO: 200 -- Shutter Speed: 0.4 Here are 5 of my other best shots: I enjoyed this assignment because it gave me a chance to show my family that they are all beautiful, because we are notorious for being anti-cameras-on-us. It took some convincing, but eventually they allowed me to take some great shots. My biggest challenge was camera shake, given the slow shutter speeds I used when taking photos indoors.
For the 3rd Photoshop assignment of this class, we had to take a succession of photos covering an area in order to merge them into one panoramic image. I took the photos using a tripod, and would turn the camera at about a 45 degree angle for each consecutive shot. Then, I went into Photoshop and used Photomerge to stitch the images together. Here is my best panoramic:  Here is a slide show of 4 other panoramic shots I created: |
I'm Becky.Look to the left to view my photos! ArchivesCategories |
 RSS Feed
